
~*~*~*~*~
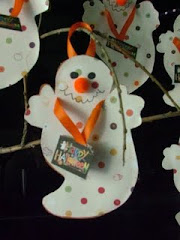
Star Photo Halloween Ornaments  I love these! I want to take the photo's of our kids when they were little and make these stars for my Halloween Twig tree that is in the Halloween Village - if I have a minute I might try to get to them this year, have to wait and see. www.bhg.com/
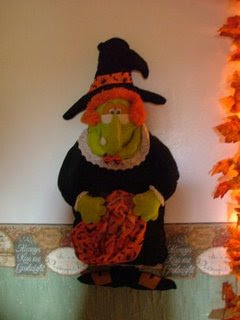
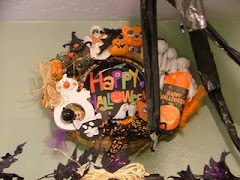
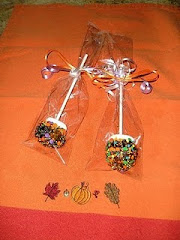
I love these! I want to take the photo's of our kids when they were little and make these stars for my Halloween Twig tree that is in the Halloween Village - if I have a minute I might try to get to them this year, have to wait and see. www.bhg.com/ Candy Wreath I found this on a blog and I can't find the address - argh! I am so sorry about that. If this is your's please leave a comment so I can leave a link to your blog.
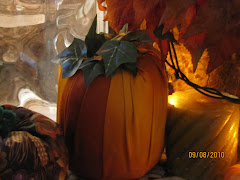
People Feeder

This was shared with me by my friend Tamy, an online friend - isnt' it so fun! I have a Christmas Feeder, but not a Halloween one and I love this!


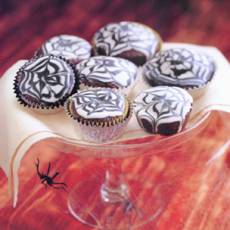
 Nasty Spider Cake


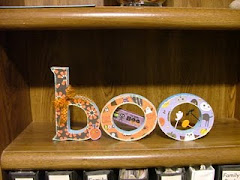
 Bottom Shelf


